When making a propagation station, it must be user-friendly, functional, and strong enough to flaunt the cuttings and propagations you’re cultivating.
Check whether your propagation station is:
- In a suitable, warm environment.
- Secured to not tip over and break.
- Not in a natural traffic pattern in your home, as plants don’t like being brushed against.
- Stocked with the necessary equipment, supplies, and containers to propagate cuttings and rooted clippings successfully.
- A functional match for your home’s aesthetic.
As you can guess, a plant propagation station is where you create new baby plants by cutting stems, leaves, or rooted sections from a mother plant. These are then transferred to a growth medium, where they mature into a whole plant that can be planted.
The growth medium used can be air, water, or soil. You can also display your propagation station, as the growing stems and plant cuttings are magical. It’s exciting to track the new root growth that happens.
Most plant propagation stations consist of a collection of glass jars or test tubes mounted on a wood base, which can be displayed on a wall or table.
Even if you have self-propagating plants, such as the spider plant, aloes, and pilea peperomioides (or Chinese money plant), you can still use a propagation station as a safe place with optimal growth conditions to let new baby plants settle and grow stronger.
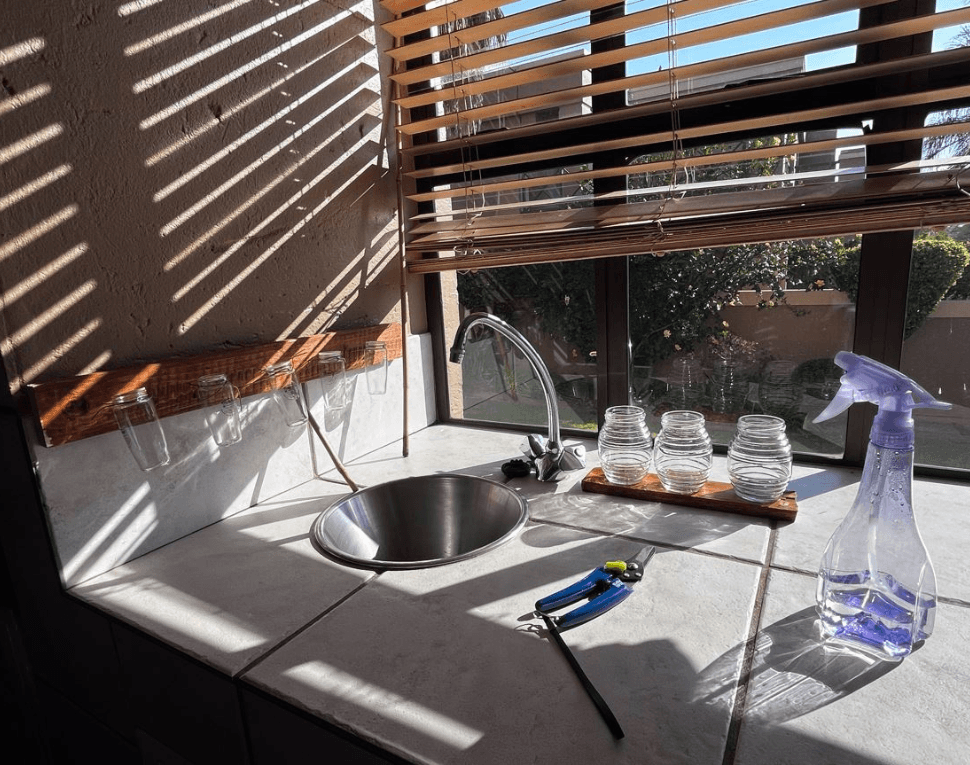
My propagation station is on my indoor patio, where I have an ideal growth environment. I have a sizable working surface and a basin with a tap to dispose of old water quickly and refill the jars.
Spice jars hang from a wooden plank via wire, and I have some honey-glass jars for more plant babies. I have space to keep the spritzing water, the mother plant, and my tools neatly in a container. Plus, I’ve got a pretty view of the garden on one side and the pool on the other.
You can purchase your own propagation station, but creating your own one is a wonderful experience. This allows you to customize your station's build and appearance. You can decide how much space is allocated to displaying stem cuttings, what space is set aside for cutting and separating the new plantlings, and what will be used to store your equipment.
When you create your own propagation station, you can determine the materials, appearance, and size. By creating my own station, I could use the available space on my patio to create a sunny, growth-friendly corner that I and my plantlings love.
I love that a propagation station helps you create more plants, enriching the biodiversity and sustainability of the plants in your home and garden. You don’t have to pay an arm and a kidney at a garden center for new plants—simply grow them yourself in the comfort of your home.
You can and should add a few things to your home propagation station. Whether you use the plant propagation station for display or as a functional element of your plant parenting, you will need:
- Wood shelf or work surface: Your station needs a base to display plants and for cutting the new plant babies.
- Planting jars, pots, or test tubes: Glass jars are best as they can be sterilized when using water propagation, while pots are essential when potting the new cuttings. You can rely on space where cuttings can be mounted for air propagation, such as a series of pegs on a wooden board.
- Isopropyl alcohol: For sterilizing the jars, pots, and cutting equipment.
- Cutting shears and pruning scissors: When propagating, you need sharp cutting implements to not damage the mother plants.
- Rooting hormone, liquid fertilizer, and potting soil: Some plants need a boost like rooting hormone, while others require liquid fertilizer in the water while propagating. A bag of potting soil nearby is also an excellent idea for soil propagation.
- A cutting board to work on.
- Filtered or distilled water. (Tap water is a no-no due to all the chemicals in it.)
- A parent plant to create cuttings from.
Various considerations should be kept in mind when creating your propagation station, such as:
Keep the station functional by ensuring you have enough space to work and don’t have to pack your tools away every five minutes. Other location aspects include:
Cuttings need high humidity, so choose an area with enough. A hygrometer is essential to check the humidity in your home and garden. You can ensure stable humidity by placing a clear dome or plastic cover over your propagation station.
Humidity also relies on misting the area where the cuttings are, which means the propagation station needs to be somewhere where water can be sprayed without damaging the surrounding surfaces.
Baby plants require a stable temperature and warmer temperatures of 70℉ to 75℉. Cold temperatures discourage growth, and warmer temperatures also help protect the new emerging leaves in the station setup.
Ensure there’s bright but indirect lighting for your propagation station. Many plants require more light than you can provide, so successful propagation relies on indoor grow lights to help raise the illumination levels.
With different propagation methods, you have unique equipment, lighting, and temperature requirements. Your plants will also each have their own preferred method of propagation, so decide what method (air, water, or soil) you will most likely use. Or you can work with a combination of propagation methods, but then you’ll need a bigger station.
Here are the top propagation methods I prefer:
- Leaf and Stem Cutting Propagation
When you take a stem or leaf cutting to propagate into a new baby plant, you usually place the cutting in a container with water and a small amount of liquid fertilizer. The container needs to be placed in conditions similar to those of the parent plant.
I like to reuse some of my honey jars, which are made of heavy-duty glass that’s easy to sterilize. Their wider base also makes them stand more securely on a shelf or on a windowsill.
Alternatively, if your leaf or stem cutting prefers to be immediately rooted into potting soil, a small, well-draining planter is needed. Place the pot in a suitable growing environment.
I also like the mini hot-house method, where I cut a soda bottle in half, upending the bottom section over the plant cutting as a dome to increase humidity.
Plants that do well with leaf and stem cuttings are philodendrons, prayer plants, African violets, tradescantia, and pothos.
It was time to make some new plant babies, and I chose the stem-cutting propagation method. I took cuttings from an arrowhead vine, painted lady philodendron, malva, Christmas cactus, the colorful coleus, and two anthuriums.
- Root Division as Propagation
Some plants thrive when a stem is cut with a substantial root section. Creeping plants often form a section of vine rooted in soil, making a natural baby plant. Cutting the parent plant into sections also allows you to create multiple smaller plants, as long as all plants have enough roots to allow growth.
These cuttings are usually placed in pots with nutrient-rich potting soil and secured in an optimal growing space, such as a windowsill or on a shelf.
Snake plants, peace lilies, ZZ plants, and Boston ferns are examples of plants that are ideal for root division.
Not all your supplies will be neat or pretty, so use functional containers like tins, boxes, or bags to keep them tidy and at hand but out of sight. I like to place some potting soil in an old coffee tin I have decorated and the liquid fertilizer in a pretty metal water bottle. My shears and scissors are neatly mounted on nails, while my propagation jars and bottles are ready for their baby plant charges against a wooden rail. How you organize your supplies depends on your space and setup, preferred propagation type, and location.
I don’t advise you to rush out and buy an expensive propagation station with things you may never use. Instead, here are some tips to help you create a practical and affordable propagation station option.
Your propagations must be dated and marked on a calendar so you know which batches need their water refreshed or have had sufficient time to grow before transplanting to a pot. I like to use different-colored stickers and felt-tip pens to mark the bottom of my propagation jars and bottles, while pots can be marked on the rim.
By keeping an eye on dates, I can stop propagation before spring has finished, as most successful propagations are usually taken as cuttings at the beginning of spring. Plus, knowing when I made a cutting helps me remain patient for longer while it gradually settles and begins to grow.
Always sterilize your blades before cutting stems, roots, or leaves. Keep cotton pads in a container near your propagation station, ensuring you never skip this step.
Never place your propagation station against a cold outside wall or in a cold room, or you will face an ugly arrangement of dead cuttings and baby plants. Like a human nursery, a propagation station must be placed in a warm spot.
When filled with glass jars, water, pots, soil, and cuttings, your propagation station may become quite heavy. Ensure it’s strong enough to carry the weight.
Place it somewhere peaceful, as new plants don’t like having a lot of foot traffic around them or being placed in a busy room. A windowsill or out-of-the-way shelf is ideal.
- Daily Checks (and Date It)
You must check water levels in your propagation station’s jars and bottles daily and ensure the soil is damp but not muddy when growing new shoots and cuttings. I keep track of when I add fertilizer and water to prevent overwatering and overfeeding.
If you’re stumped for ideas on creating a propagation station (whether for functional propagation or just the display of cuttings), I’ve got the best ideas for you.
You can upcycle a chandelier to carry the test tubes that make up your propagation station. The collection of tubes can be placed in a warm and bright area, and this setup is super easy to rotate, too.
I keep the small planters that my kitchen herbs come in (after I have planted these into larger pots), which are ideal for smaller soil-propagated cuttings.
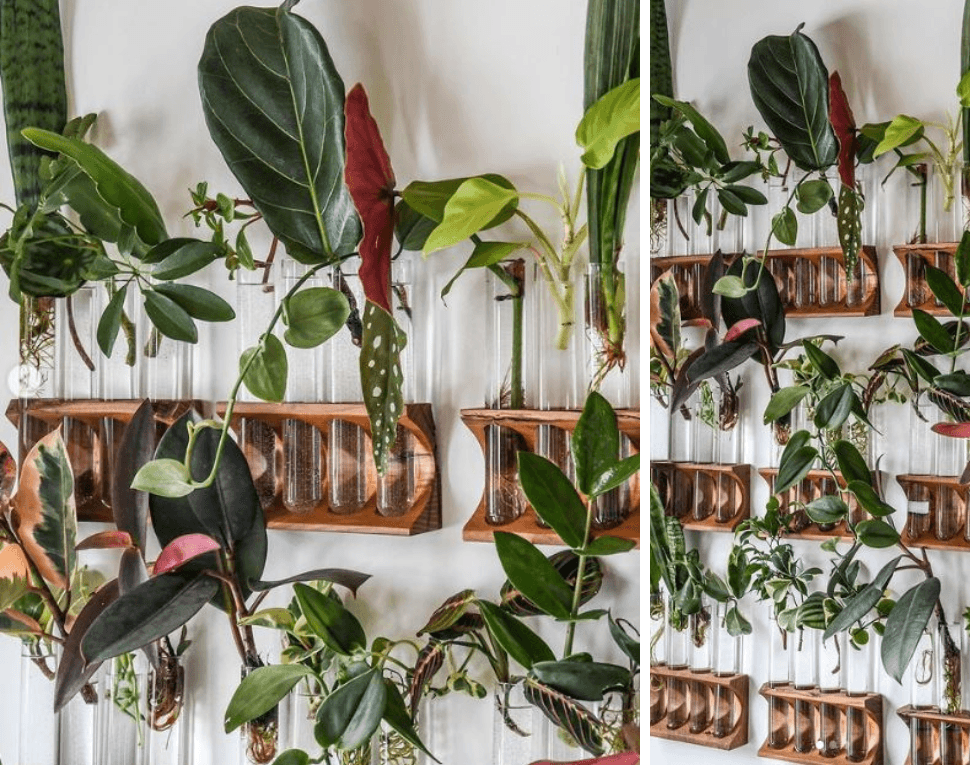
A friend of mine created a stunning wall-mounted propagation display station out of wooden spice racks. The diverse plant cuttings thrive on the station’s wall, and you can easily check which needs water or fertilizer.
You can even use a bamboo trellis as a base to mount glass jars with a bit of wire.
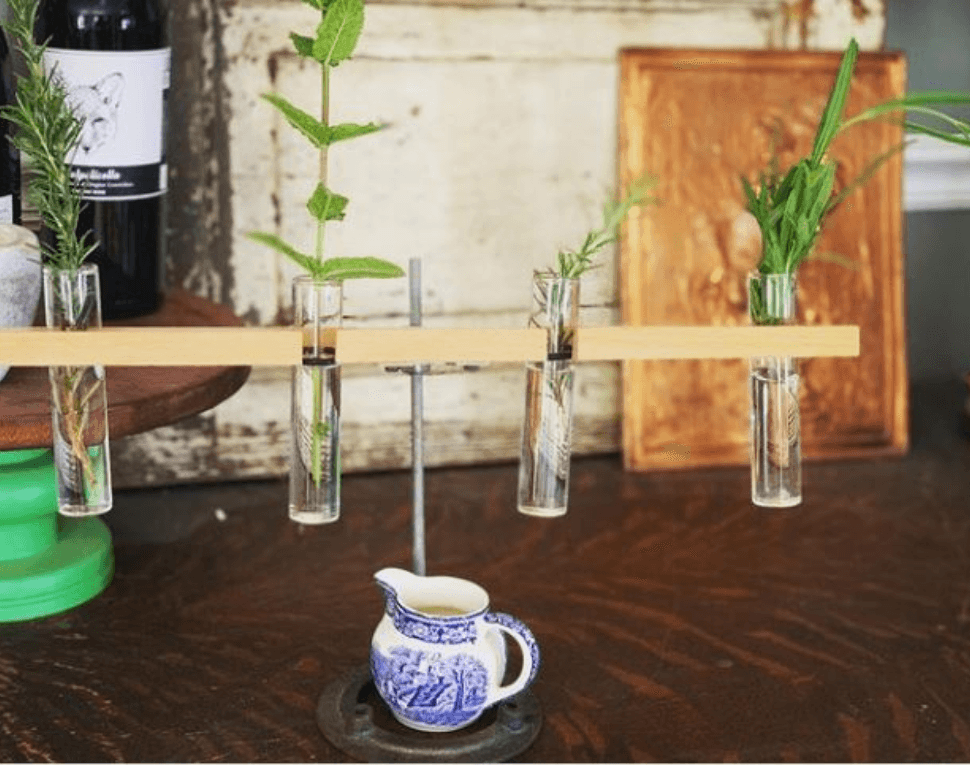
Even a wood plank can create a neatly balanced propagation station. The plank has been cut to fit the glass vials, while a steel rod is secured to an ornamental weight to carry the plank midair.
If you’ve got an old bookshelf and some glass vases, you can create a large selection of cuttings to propagate, and the resulting display is stunning.
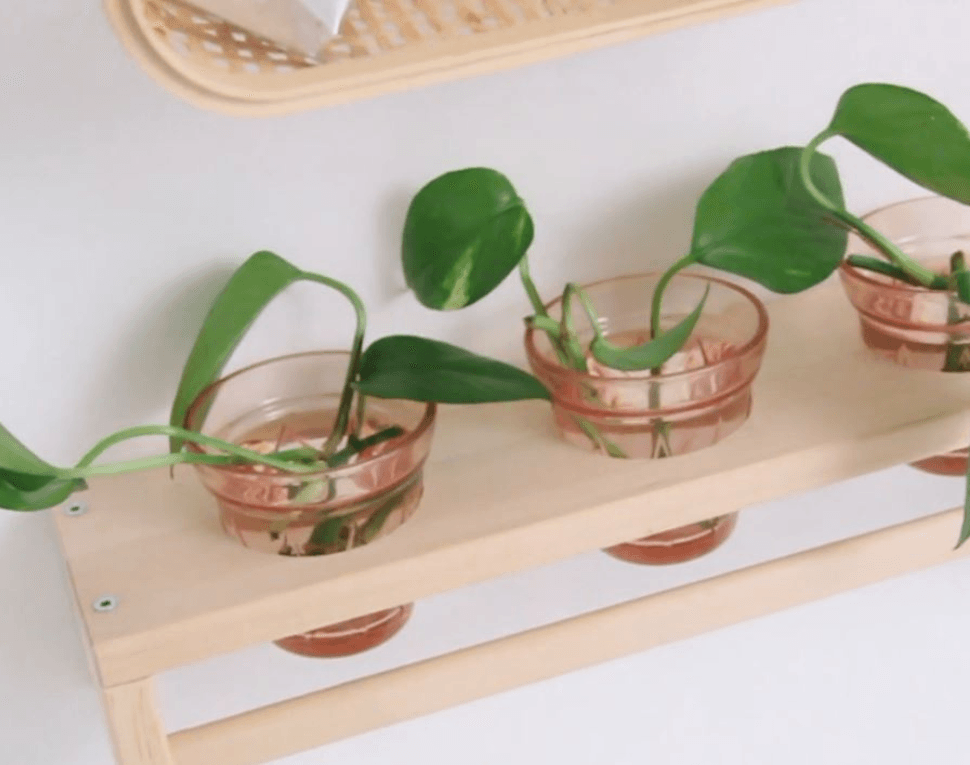
We’ve all got a wood (or plastic) condiment or spice rack, and these are excellent for keeping a few jars of propagated plants off the ground and thriving. Throw a few colored glasses on there, and you’re ready for a propagation party.
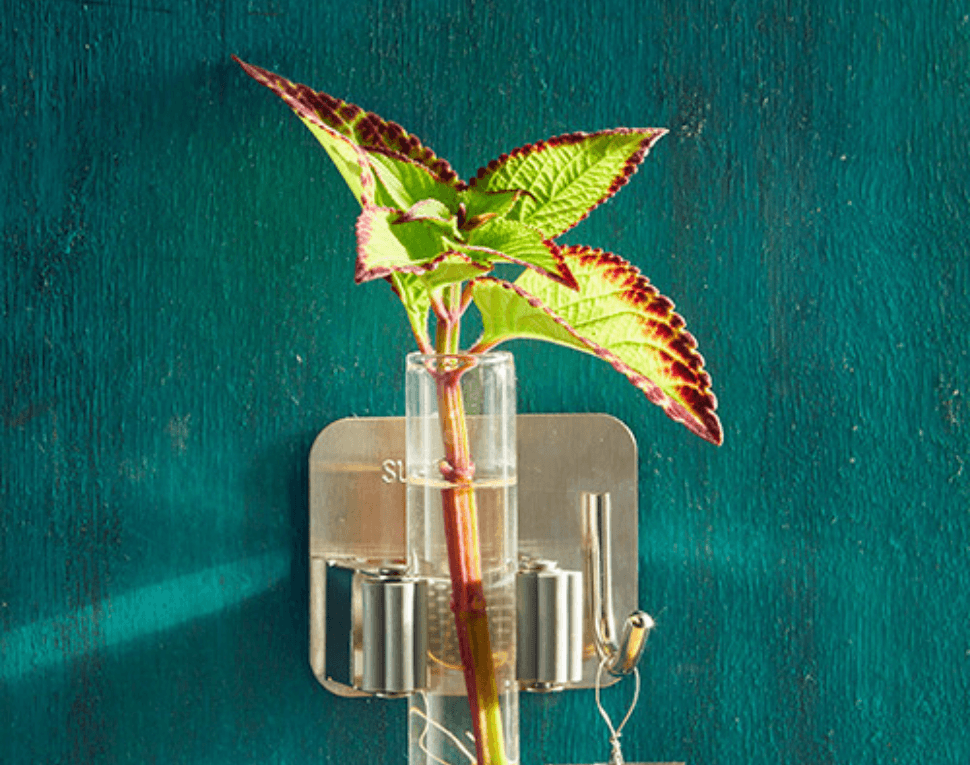
Even a toothbrush holder can be upcycled to create a safe mini plant propagation station environment. Use several together to liven up a dull wall while making the most of surprise spaces.
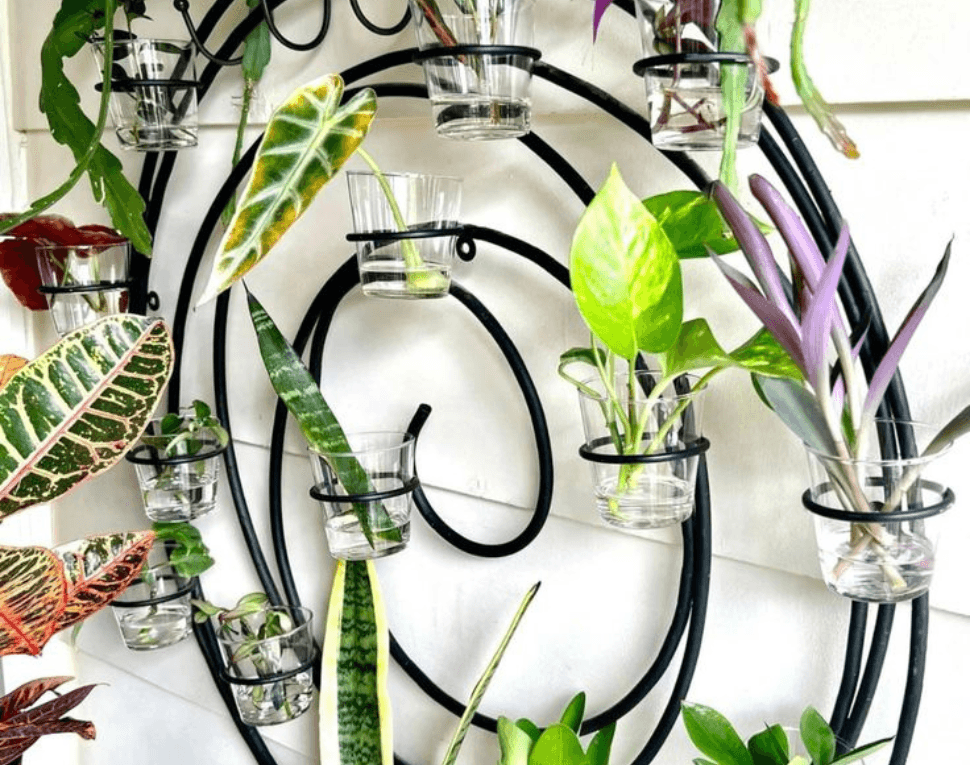
Add some interest and creativity to your propagation station space by using steel or copper wire twisted into a dramatic pattern, with small glass jars attached at various spots.
If you are creating a variety of cuttings (especially succulent cuttings), use a small tray of mini planters that you can place together as a display. Arrange these however you like, and fill the tray with pebbles and water if you require higher humidity.